
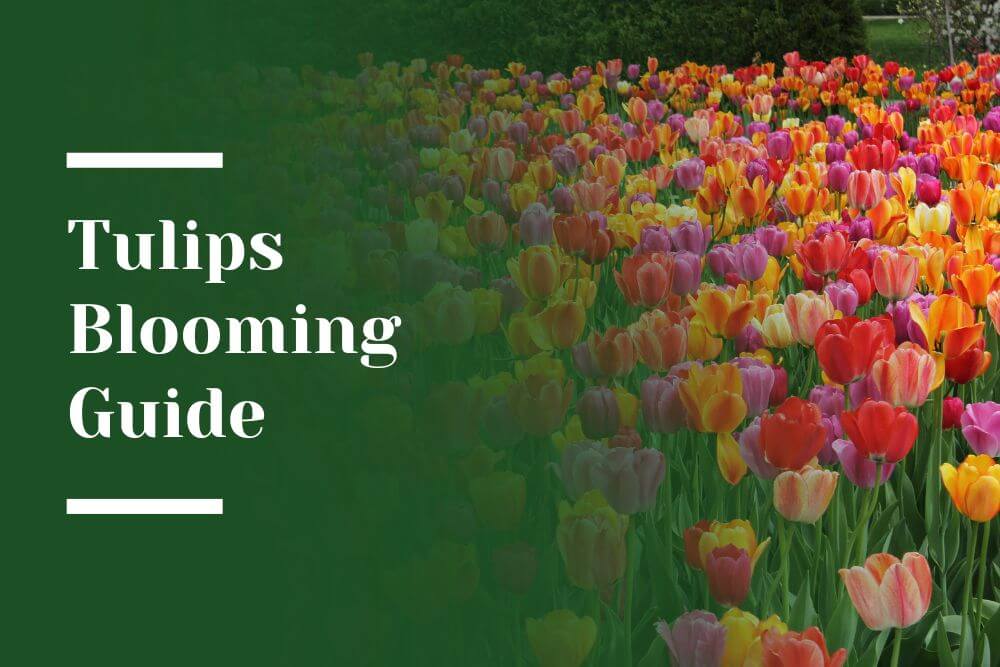
Tulips are the quintessential spring flower, brightening up luxury landscape gardens with their vivid colors and elegant shapes. Native to Central Asia and Turkey, tulips made their way to Europe in the 16th century and have remained a symbol of springtime ever since. But ensuring a successful tulip bloom takes some planning and understanding. From knowing your bulbs to selecting the right varieties, this guide will help you create a vibrant tulip garden that lasts all season.
Choosing Healthy Tulip Bulbs for a Flourishing Bloom
The key to a garden full of vibrant tulips starts with the bulbs. Healthy tulip bulbs are firm, plump, and free of mold or damage. When selecting bulbs, avoid any that feel soft, mushy, or overly dry, as these are less likely to bloom. Firmness is a good indicator of the bulb’s viability — if it feels like an onion, it’s usually good to go!
Tulip bulbs are typically planted in the fall, several weeks before the ground freezes. During the winter, the bulbs undergo a necessary chilling period, preparing them for their spring bloom. In regions with mild winters, bulbs may need to be pre-chilled in the refrigerator for 10 to 14 weeks to mimic their natural cold exposure.
Pro Tip: When purchasing tulip bulbs, look for larger bulbs, as they often produce bigger and more vibrant blooms.
Understanding Tulip Bloom Time: Early, Mid-Season, and Late Varieties
A standout feature of tulips is their diverse bloom times. Tulips are categorized into three main bloom periods:
- Early Blooming Tulips: These varieties, like the Emperor and Fosteriana tulips, bloom in early to mid-spring. Their vibrant colors and bold forms make them excellent for the first burst of spring color.
- Mid-Season Tulips: Triumph and Darwin Hybrid tulips tend to bloom during the middle of the season. They are well-known for their strong stems and large flowers, making them ideal for cutting gardens.
- Late Blooming Tulips: Single Late Tulips and Parrot Tulips bloom toward the end of spring, adding a final flourish of color before the season changes.
To extend the beauty of your garden design, consider mixing early, mid-season, and late blooming varieties. This layering technique ensures continuous color for weeks, giving your Bay Area luxury landscape a longer tulip season.
Different Types of Tulips to Elevate Your Garden
Tulips come in many shapes, sizes, and textures, offering endless design possibilities. Here are some popular varieties to consider:
Double Tulips
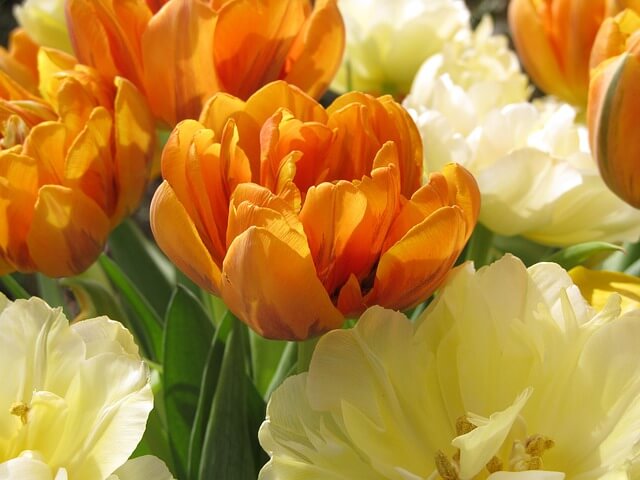
Photo Source: Pixabay
These tulips resemble peonies with their large, layered petals. Their lush, full blooms create a bold statement in any garden, making them an excellent choice for high-end estate landscaping.
Parrot Tulips
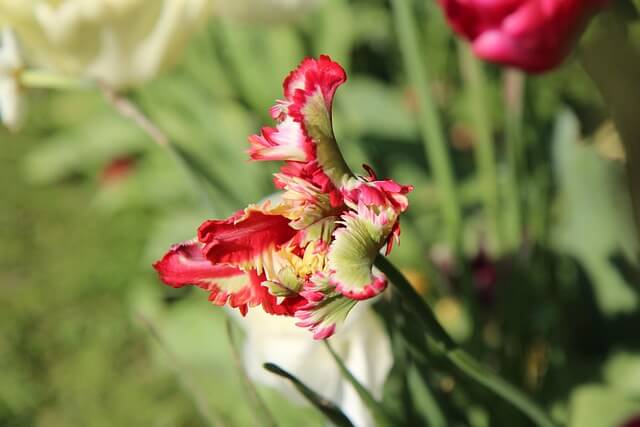
Photo Source: Pixabay
Known for their curled and ruffled petals, Parrot Tulips are eye-catching and often display a mix of vibrant colors. They add a whimsical touch to bay area landscape designs.
Fringed Tulips
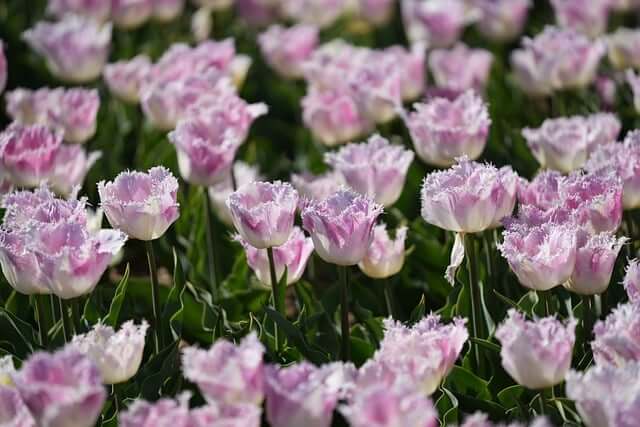
Photo Source: Pixabay
As the name suggests, Fringed Tulips have delicate, frayed petal edges that offer a dramatic, textured appearance. They are perfect for creating visual interest in garden beds.
Standard Tulips
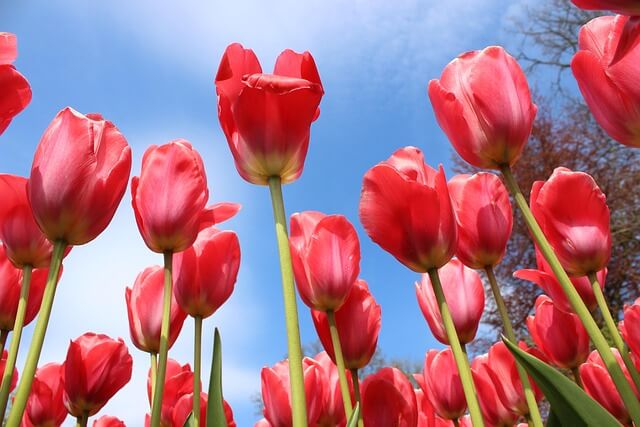
Photo Source: Pixabay
The classic tulip variety, with its iconic cup-shaped bloom, is available in nearly every color imaginable. These timeless flowers work well in both traditional and modern landscape designs.
Early and Late Tulips

Photo Source: Pixabay
Planting a combination of early and late blooming tulips ensures that your garden remains vibrant throughout the entire spring season. This approach extends the bloom time, providing ongoing color and beauty.
Pro Tip: Mix different types of tulips in the same garden bed to add depth, texture, and continuous blooms.
Creating the Perfect Soil for Tulip Growth
Tulips thrive in well-draining soil that’s rich in organic matter. Bulbs dislike soggy environments, which can lead to root rot and fungal diseases. A well-designed irrigation system can help maintain the perfect soil moisture levels, ensuring your tulips get the hydration they need without waterlogging. Before planting, ensure your soil has been amended with compost to improve drainage and nutrient content, and consider using drip irrigation for consistent, efficient watering.
Here’s how to create the ideal tulip bed:
- Test Your Soil: Tulips prefer a neutral to slightly acidic pH level, around 6.0 to 7.0. You can test your soil with a simple soil test kit from your local garden center.
- Add Compost: Incorporating compost not only improves drainage but also provides nutrients that promote healthy growth.
- Ensure Proper Drainage: If your soil is heavy clay, consider adding sand or gravel to improve drainage. Alternatively, plant tulips in raised beds or containers.
Pro Tip: After planting, add a thin layer of mulch or compost to help retain moisture and regulate soil temperature during the winter months.
Sunlight and Temperature: Creating Ideal Blooming Conditions
Tulips love sunlight. For the best blooms, plant them in areas that receive at least 6 to 8 hours of direct sunlight each day. While they can tolerate part shade, especially in hotter climates, full sun encourages vibrant colors and strong stems.
Tulips also prefer cool temperatures, and unexpected hot spells can reduce bloom time. In regions with fluctuating spring temperatures, consider planting tulips in areas with afternoon shade to help extend their bloom period.
Pro Tip: In warmer climates like the Bay Area, planting tulips in a spot with morning sun and afternoon shade can protect blooms from heat stress.
Post-Bloom Care: Preparing for Next Season’s Flowers

Photo Source: Freepik
Once tulips have graced your garden with their stunning blooms, it’s essential to care for them properly to ensure future seasons of color. In high-end landscaping, maintaining tulip beds with proper post-bloom care ensures they remain a vibrant focal point year after year. After flowering, the plant will continue to gather energy through its leaves. Allow the foliage to turn yellow and wither naturally, as this process returns nutrients to the bulb, promoting even more spectacular blooms in the next season.
Here’s a simple post-bloom care routine:
- Deadhead Flowers: Remove spent blooms to prevent the plant from producing seeds. This helps the bulb conserve energy.
- Leave the Leaves: Allow the foliage to remain until it fully yellows. Avoid cutting the leaves prematurely, as they are essential for energy storage.
- Feed the Bulbs: After blooming, applying a balanced fertilizer can support bulb health and ensure a strong bloom the following year.
Pro Tip: If you’re planning to lift and store bulbs, wait until the leaves are completely yellow before digging them up. Store them in a cool, dry place until fall planting.
Common Issues and Solutions for Tulip Blooming
Even with the best care, tulips can face challenges. Here are some common issues and how to address them:
- No Blooms: This can be due to insufficient chilling, overcrowding, or planting bulbs too shallow. Ensure proper spacing and plant bulbs at a depth three times their height.
- Short Bloom Time: Sudden heat waves can shorten bloom time. Planting in partially shaded areas or providing temporary shade can help.
- Pests and Diseases: Tulip bulbs can attract rodents, while fungal diseases can occur in damp soil. Protect bulbs with wire mesh and ensure proper drainage.
Pro Tip: Rotate your planting location every few years to prevent soil-borne diseases from affecting your tulips.
With a little planning and care, tulips can bring breathtaking color and joy to your spring garden. From selecting healthy bulbs to understanding bloom times and providing optimal soil and sunlight, every step plays a part in creating a thriving tulip display.
So, are you ready to brighten your landscape with the vibrant beauty of tulips? Let your garden bloom all season long!